1952 Duck Hunting Boat


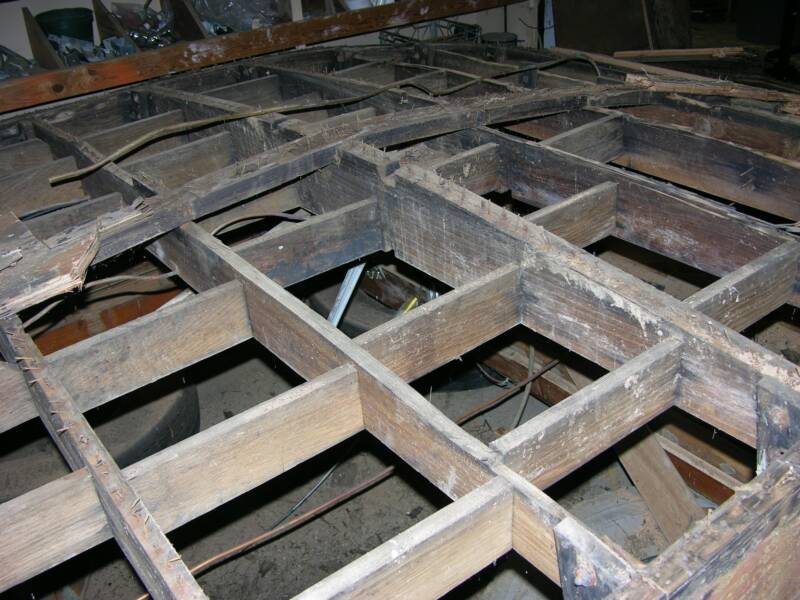
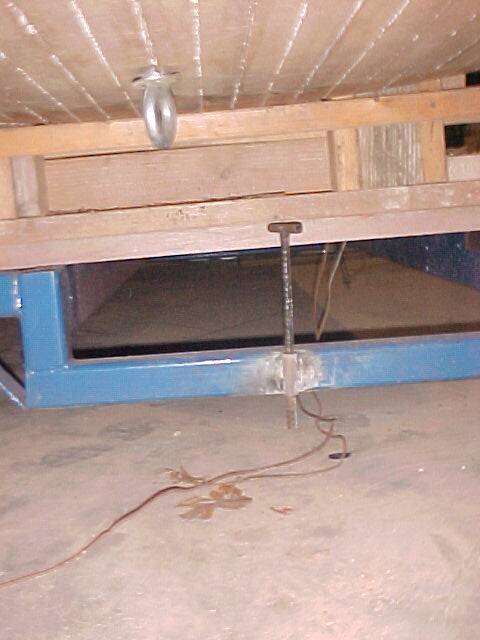
The boat is currently upside down in Arkansas - all the bottom plywood has been removed.
Cleaning Procedure
- The next steps are to clean the structural members with a biodegradable degrease called Purple Power.
- It will require about 2 gallons of purple power.
- Before you start go to the Grocery or Dollar Store and get about 1 brush of each shape and size for use in the kitchen. The Purple Power should be brushed in to every surface of the structure to get all the grease and grime off of it.
- The cleaning procedure will require a garden sprayer to spray on the degrease.
- Keep soaking the structure down for about 1/2 hour while brushing.
- After soaking and brushing, spray it one more time with purple power. The grease and grime should be loose enough to kind of release when the spray hits it.
- When you get to this point then it is ready for power washing. If you have hot water or a steam cleaner available use it!!
- Without cleaning, cracks, rot and other defects will be hidden by the grease and grime.!!!!!!!!
After Cleaning it is time to level the boat.
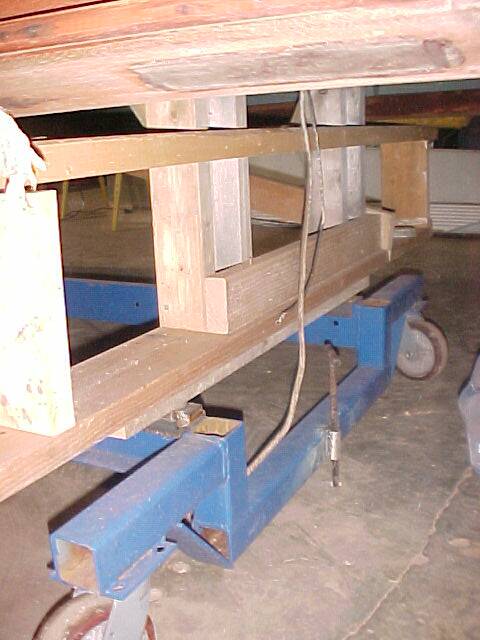
Leveling Procedure
- Select a spot for the boat to sit where people can easily get all around it to work on ribs and bottom replacement. Make at least two holes in the floor and through the dolly system and fabricate "Pins" that will drop through the carriage hole into the concrete so the boat can be put back in EXACTLY the same spot and locked down once again. This way we can move it out of the way for other activities in the shop area. Once the boat is leveled in one spot we have to hit that exact spot again to ensure it is level if/ when we have to move it for any reason.... or never move it until all work is done which is probably not practical. When we lean against it - it may move.
- Next purchase or borrow, or wait on me to bring a laser level. Set it up to get a Level plane above or below the boat. Above will be easier
- Measure from the underside of the Engine stringers and level the stringers and level the boat by putting simple shims between the dolly carriage and the boat. Also measure to make sure the engine stringers have no "swayback" or arch shape. If it has swaybacked then you will need to add extra support shims to get these stringers level and straight. Strive to get to the nearest 1/8"
Removal and plugging of fasteners
- Remove fasteners by pulling out whenever possible.
- Grind off any remaining fasteners.
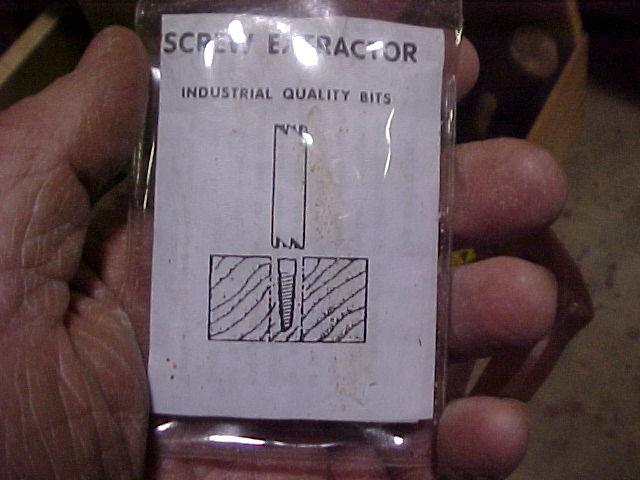
- Once ground off these will need to be "cored" around with a small tool that drills a 1/8"or 1/4" core holes whichever unit we select..
- The nail holes and core holes will be plugged by inserting a dowel that has been dipped in Gorilla glue and driving it into the hole.
- The reason for this is to ensure there are no pockets of corroding steel (nails) nor spaces for water to get trapped and create an area for rot to start.

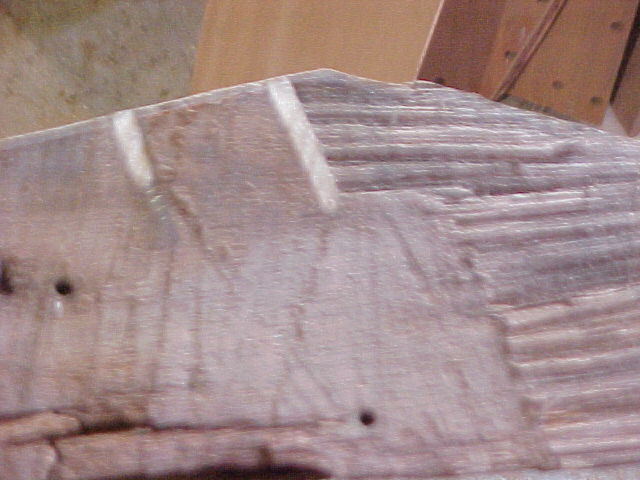
Pictured are dowel plugs in the keel of the "Chubby D"
This photo is of a cross section of a rib that has been cut to illustrate how the fastener (nail or screw) holes get plugged. The arrows below show where the dowel has been inserted in the hole left by the fastener and filled it so that a water pocket - where rot would start if not filled - can not exist.
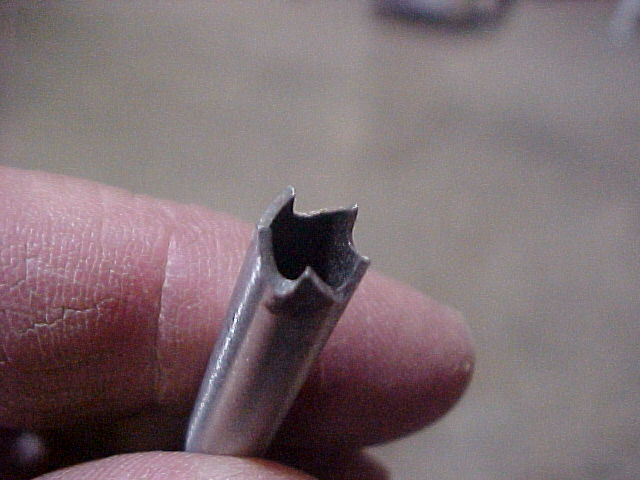
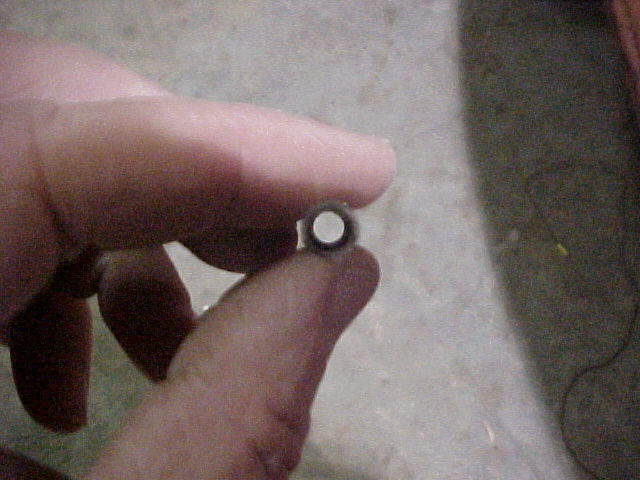
Pictured above is a small core drill that will core out the remaining nail shanks to ensure we don't leave iron in the boat that can rust and accelerate rot. In addition, when predrilling for our bottom screws, when we break a bit - it may actually prevent us from properly seating the new bottom against the ribs. Worse yet, if we do get a hole predrilled and it is next to a piece of nail we run the risk of breaking off the screw as we drive it in and then we definitely have a difficult time getting the bottom to seat on the ribs.
These extractors are a bit spendy, there are some others made of roll pin material on the market. They are a bit less expensive and a bit tougher. We need to find use these.
Removal of rib to rib supports
This is required only where we are going to repair or replace an adjoining rib, however, If you have a desire to coat all of the ribs surfaces with CPES then every one of these short supports would need to be removed. While not a requirement, it is not a bad idea. Typically I would inspect very closely at the joint between the cross members and the ribs and if no rot I would not disturb these.
Keel
The keel needs to either be replaced or repaired. If the only damage to the keel is the last few feet at the stern then a new section of keel can be spliced into the existing by using a proper scarf joint. If there is damage to the keel at several different places along it's length then it would make more sense to replace it entirely.
CPES
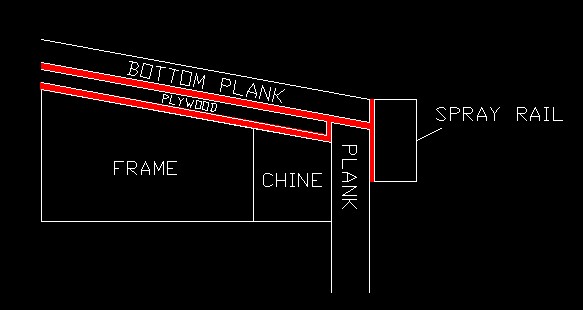
Hull side to hull bottom joint (chine) joint treatment.
This is what we will need to do here to avoid the use of fiberglass (which will not likely stay in place) on this joint. This drawing was used for another boat, but the same concept will apply to your boat with a couple of minor changes. Note that the boat is shown UPSIDE DOWN just as you have yours positioned.
- First ... it shows two layers of hull,which we may not do.. so pretend the "plywood" layer is not there. The put it in your mind that where it says "bottom plank" is our layer of plywood.
- At this time I think we should add a spray rail instead of fiberglass. - The spray rail will give us an extra layer of sealant over the joint and protect the joint from logs, water heaters, tires and wheels refrigerators and other debris commonly found in lakes and rivers!
Remaining Discussions
- Bottom thickness and joints - Yes please send me a sample... it would be great if you could send me a sample of where two sheets of plywood were originally joined. Also, I'd like to understand how you know there was only one layer of plywood originally. I' puzzled because it appears the keel is rabeted to accept a 1" thickness of plywood (made up of 2 layers of 1/2"?????) I really want to get to the root cause of the first (one layer) bottom and ensure we do not repeat the mistake made by the original builder! I have some theories, but we need to KNOW the reason for the second layer.
- When to sister frame (repair) or replace ribs
- Transom wood - partial replacement
- Hull side deterioration (rot) at stern and how to address - I need some extra photos there but have a trick up my sleeve.
- Tools required - for now, yes I use a band saw for ribs so we should have one at the site unless you have all the ribs complete before I get there.
- Supplies order
/\
/\
New Toll Free Phone Number 866-921-2628